Bait casting reels are fantastic once you get the hang of them, but let’s be honest, they can be intimidating for first-timers. I remember staring at mine for what felt like hours, trying to figure out all the knobs and dials. The truth is setting up a bait casting reel can actually be straightforward once you know the right steps to follow.
In this guide, I’ll walk you through everything from spooling your line to adjusting the tension and brakes. By the end of this, you’ll feel confident in setting up your baitcaster and heading out to the water to land those bigger catches. Let’s get started!
What are the Parts of the Reel?
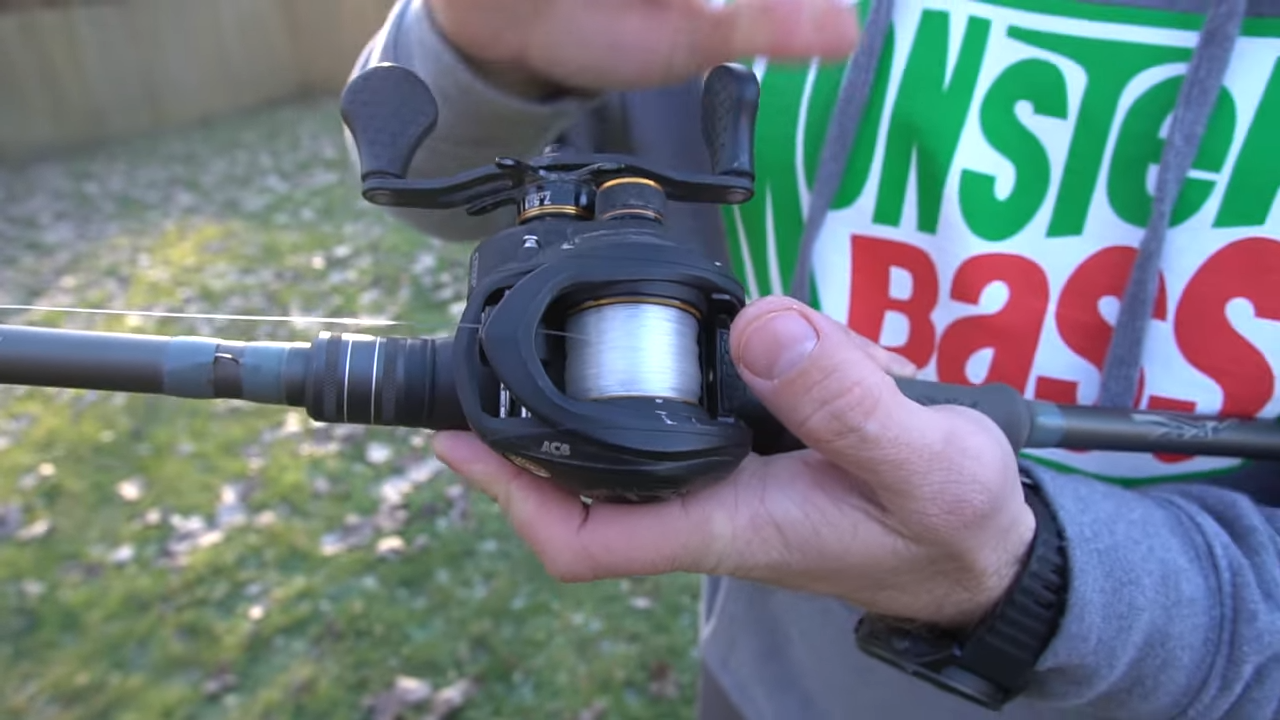
Before we get into the nitty-gritty of the setup, it’s helpful to take a quick look at the parts of your reel. Here’s a breakdown of the important components you’ll be working with:
- Spool: This is where your line sits.
- Tension Knob: It adjusts the resistance on the spool, which helps control your cast.
- Brakes: These slow down the spool when you cast, preventing backlash (also called a “bird’s nest”).
- Drag System: It controls the amount of resistance a fish feels when pulling on your line.
- Handle: Well, it’s for cranking in your catch!
Once you have a good sense of what each part does, you’ll feel more in control. Now, let’s get hands-on with the setup.
First Things First: Spool Your Line
The first thing you need to do is spool your line. Without this, your reel is just a fancy paperweight. Here’s how to do it right:
Pick the Right Line
Choosing the correct line for your baitcasting reel is critical. Generally, a medium-heavy rod pairs well with a 12–20-pound test line. I usually go with a monofilament or fluorocarbon line for smoother casting, but braided line can be a good option too if you’re after something stronger.
Thread the Line Through the Guides
Start by threading your line through the guides on your rod. Begin at the tip and work your way down toward the reel. Make sure the line passes smoothly without any kinks or knots.
Attach the Line to the Spool
Now, open the reel’s side plate (on most reels, you’ll see a small button or latch to release it). Then, tie the line to the spool using an arbor knot—a solid, simple knot that holds well under tension. After the knot is secure, close the side plate.
Start Spooling
- Hold the line tight with one hand, and with the other, slowly turn the handle to begin spooling the line.
- Keep consistent tension as the line winds onto the spool.
- Don’t rush—spool it evenly, making sure there are no overlaps or loops that could cause future problems.
- Stop once the line fills up to about an eighth of an inch from the spool’s edge.
Adjust the Tension Knob
Now that the reel is spooled, it’s time to adjust the tension knob. This little dial is your best friend when it comes to preventing backlash. You know that dreaded bird’s nest that everyone talks about? Yep, tension control is how you avoid it.
Start by Loosening the Tension
Turn the tension knob to loosen it. You’ll want it loose enough that when you release the spool, your bait falls freely but doesn’t spin uncontrollably.
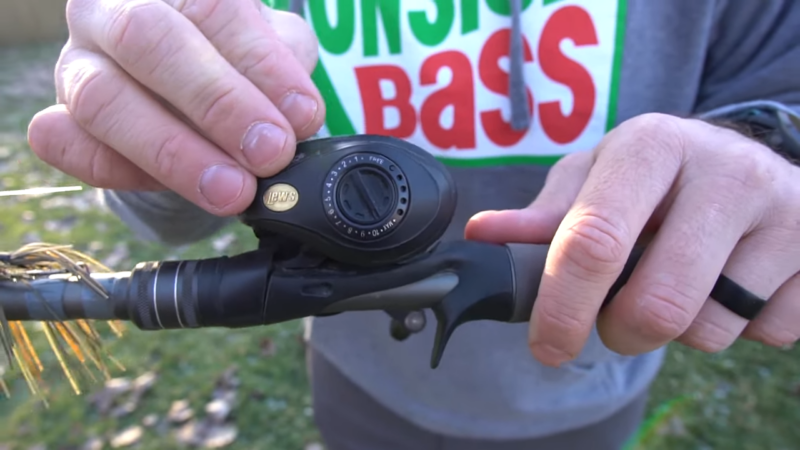
Set the Brakes to Avoid Backlash
Backlash is probably the most frustrating thing when you’re new to bait casting. But the brakes on your reel are here to help. They slow down the spool during a cast, especially when your lure hits the water, reducing the risk of those dreaded tangles.
For your first few casts, set the brakes to a higher setting (around 70–80%). This will give you more control while you get used to how the real works. It’s better to start too slow than to start with an aggressive cast that ends in a mess of line.
As you get more comfortable, you can lower the brake setting to allow for longer casts. This is where the real fun begins! Keep lowering the brakes in small increments until you find the balance that works for you. Too little brake, and you’ll get backlash. Too much, and you won’t cast very far. It’s all about finding that perfect in-between.
Fine-Tuning the Drag System
The drag system is essential for managing how much resistance a fish feels when it pulls on your line. Set it too tight, and you risk breaking the line. Too loose, and the fish will just swim away without putting up much of a fight.
Adjust the Drag to Match Your Target Fish
The rule of thumb for drag settings is about 25–30% of your line’s strength. For example, if you’re using a 20-pound test line, set the drag so that it will give at about 5–7 pounds of pressure.
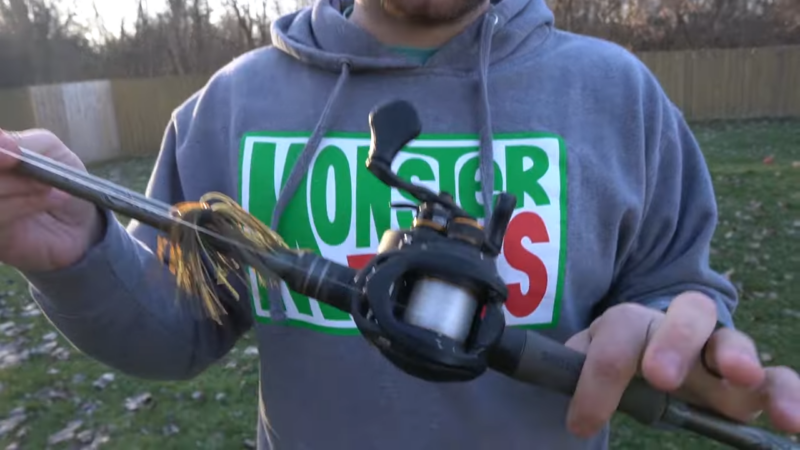
Practice Your Casting Technique
Now that your reel is all set up, it’s time to practice casting. This part takes some patience, but it’s absolutely worth it once you get it down. Here are some tips that helped me when I first started:
Start with Short Casts
Don’t try to bomb out long casts right away. Start with short, controlled casts to get a feel for how the reel handles the line. Focus on releasing the spool at the right moment to avoid backlash.
Use Your Thumb
Your thumb is crucial for controlling the spool, especially during the cast. Lightly rest your thumb on the spool to keep it from spinning too fast. As the lure hits the water, press down with your thumb to stop the spool entirely.
Practice in an Open Area
Find an open space, like a park or a quiet section of water, and practice casting. The more you do it, the more natural it’ll feel. You’ll start to learn how much force to apply and how to time your thumb’s movements.
Common Issues and How to Solve Them
Even when you do everything right, things can still go wrong. Don’t get discouraged!
Backlash
It happens to the best of us. If you do get backlash, stop and slowly pull the line out of the reel. Don’t yank it—this could make the tangle worse. Once the line is free, reset your tension and brake settings, and try again.
Short Casts
If you’re not getting enough distance, it could be that your brake settings are too high or your tension is too tight. Gradually loosen both until you find the right balance for longer casts.
Reel Noise
If your reel makes a grinding noise, check to make sure it’s properly lubricated. Bait casting reels need maintenance to stay in top shape, so give it a few drops of oil to keep it running smoothly.
In Summary
And there you go! Setting up a bait casting reel probably seemed tricky at first, but now it’s not so bad, right? You’ve spooled your line, adjusted the tension, set the brakes, and fine-tuned the drag. Now, it’s time to hit the water and put it all to use.